Understanding Wood Veneer Removal

Wood veneer is a thin layer of wood, typically less than 1/16 inch thick, applied to a core material, such as plywood, particleboard, or MDF, to create a finished surface. Understanding the different types of veneer and their adhesion methods is crucial for successful removal.
Types of Wood Veneer and Adhesion Methods
The type of veneer and its adhesion method determine the complexity and difficulty of removal.
- Real Wood Veneer: This is the most common type of veneer, made from thin slices of real wood. It is typically adhered to the core material using a strong adhesive, such as contact cement, polyvinyl acetate (PVA) glue, or epoxy resin.
- Synthetic Veneer: This type of veneer is made from materials like plastic, vinyl, or paper, and often mimics the appearance of real wood. It is typically adhered to the core material using a less strong adhesive, such as a water-based glue.
- Wood Veneer Sheets: These are pre-finished veneer sheets, often available in various wood species and finishes. They are typically adhered to the core material using a strong adhesive, such as contact cement or PVA glue.
Potential Risks and Challenges
Removing wood veneer can be challenging and potentially risky, depending on the type of veneer, its adhesion method, and the age of the cabinets.
- Damage to the Core Material: Attempting to remove veneer without proper techniques can damage the underlying core material, leading to costly repairs.
- Adhesive Removal: Removing the adhesive can be challenging and may require specialized tools and techniques, depending on the type of adhesive used.
- Veneer Flaking: The veneer may flake or chip during removal, especially if it is old or has been subjected to moisture or heat.
- Dust and Debris: The removal process can generate a significant amount of dust and debris, requiring proper safety precautions.
Tools and Materials Needed
To successfully remove wood veneer, you will need a set of specialized tools and materials.
- Heat Gun: This tool is used to soften the adhesive and make it easier to remove the veneer. A heat gun is particularly effective for removing contact cement.
- Putty Knife or Scraper: A putty knife or scraper is used to pry the veneer off the core material. Choose a blade that is sharp and sturdy enough to handle the task.
- Sandpaper: Sandpaper is used to smooth out the core material after the veneer is removed. Choose sandpaper with different grits to achieve the desired finish.
- Adhesive Remover: An adhesive remover is used to dissolve the adhesive and make it easier to remove the veneer. Choose an adhesive remover that is compatible with the type of adhesive used.
- Safety Gear: Wear safety glasses, gloves, and a dust mask to protect yourself from dust, debris, and chemicals.
- Work Surface: Choose a clean and stable work surface for the removal process.
Removal Methods and Techniques: How To Remove Wood Veneer From Cabinets

There are several methods for removing wood veneer from cabinets, each with its own advantages and disadvantages. The best method will depend on the type of veneer, the condition of the cabinets, and your skill level.
Using Heat and a Scraper
This method involves using heat to soften the adhesive holding the veneer to the substrate, making it easier to scrape off. A heat gun or a hairdryer can be used to apply heat to the veneer.
- Apply heat to the veneer, moving the heat source back and forth to avoid scorching the wood.
- Once the veneer is warm, use a scraper to carefully pry it off the substrate.
- Work in small sections to avoid damaging the underlying wood.
This method is effective for removing veneer that is not too tightly adhered to the substrate. It is also a relatively safe method, as long as you take care not to overheat the wood.
Using Chemical Strippers
Chemical strippers are a more aggressive method of veneer removal. They work by dissolving the adhesive holding the veneer to the substrate.
- Apply the stripper to the veneer using a paintbrush or a roller.
- Allow the stripper to sit for the amount of time specified on the product label.
- Use a scraper to remove the veneer and the softened adhesive.
Chemical strippers can be effective for removing veneer that is tightly adhered to the substrate. However, they can also damage the underlying wood if they are not used carefully. Always wear gloves and eye protection when using chemical strippers, and work in a well-ventilated area.
Sanding and Refinishing, How to remove wood veneer from cabinets
Once the veneer has been removed, the cabinet surface will need to be sanded and refinished. This will create a smooth and even surface for painting or staining.
- Sand the surface with progressively finer grits of sandpaper, starting with a coarse grit and finishing with a fine grit.
- Apply a primer to the surface to help the paint or stain adhere properly.
- Paint or stain the cabinets as desired.
Comparison of Methods
| Method | Effectiveness | Efficiency | Safety |
|---|---|---|---|
| Heat and Scraper | Moderate | Moderate | High |
| Chemical Strippers | High | High | Low |
| Sanding | Moderate | Low | High |
Considerations and Best Practices

Veneer removal is a delicate process that requires careful planning and execution to minimize damage to the underlying wood and surrounding surfaces. This section will provide valuable tips and insights to ensure a successful and safe veneer removal project.
Protecting Surfaces and Preventing Damage
It’s crucial to protect surrounding surfaces and prevent damage during the removal process. The following steps will help ensure the safety of your workspace and the integrity of your cabinets.
- Covering surfaces: Use drop cloths or plastic sheeting to protect floors, countertops, and other nearby surfaces from debris, water, and chemical spills.
- Masking: Tape off areas adjacent to the veneer to prevent accidental damage from tools or chemicals.
- Protective film: Apply a layer of painter’s tape or masking film to delicate areas like glass or metal hardware to shield them from scratches or chemical damage.
Ventilation and Personal Protective Equipment
Proper ventilation and personal protective equipment are essential to ensure your safety during the veneer removal process.
- Ventilation: Work in a well-ventilated area, preferably outdoors, to minimize exposure to fumes and dust. Open windows and doors for adequate air circulation. If working indoors, use a respirator or face mask with appropriate filters.
- Eye protection: Wear safety goggles to protect your eyes from flying debris, chemical splashes, and dust particles.
- Gloves: Wear gloves to protect your hands from splinters, chemicals, and irritants. Choose gloves that are appropriate for the specific chemicals or tools you’re using.
- Clothing: Wear long sleeves and pants to protect your skin from splinters, chemicals, and dust.
Assessing Cabinet Condition and Identifying Repairs
Once the veneer is removed, carefully inspect the underlying wood for damage or defects.
- Inspect for damage: Look for scratches, gouges, dents, or warping. These imperfections may require repair before finishing.
- Assess wood condition: Evaluate the overall condition of the wood. If it’s dry, cracked, or damaged, consider replacing the cabinet doors or panels.
- Repair options: Common repair techniques include sanding, filling with wood putty or epoxy, and using wood filler for larger gaps or holes.
Choosing Finishing Options
The exposed wood will need to be finished to protect it from moisture, stains, and wear.
- Consider the style: The choice of finish should complement the existing cabinet style and your overall design aesthetic.
- Durability: Select a finish that provides the necessary level of durability for the intended use of the cabinets. For high-traffic areas, consider durable finishes like polyurethane or epoxy.
- Color and sheen: Choose a color and sheen that matches the existing cabinetry or complements the surrounding decor.
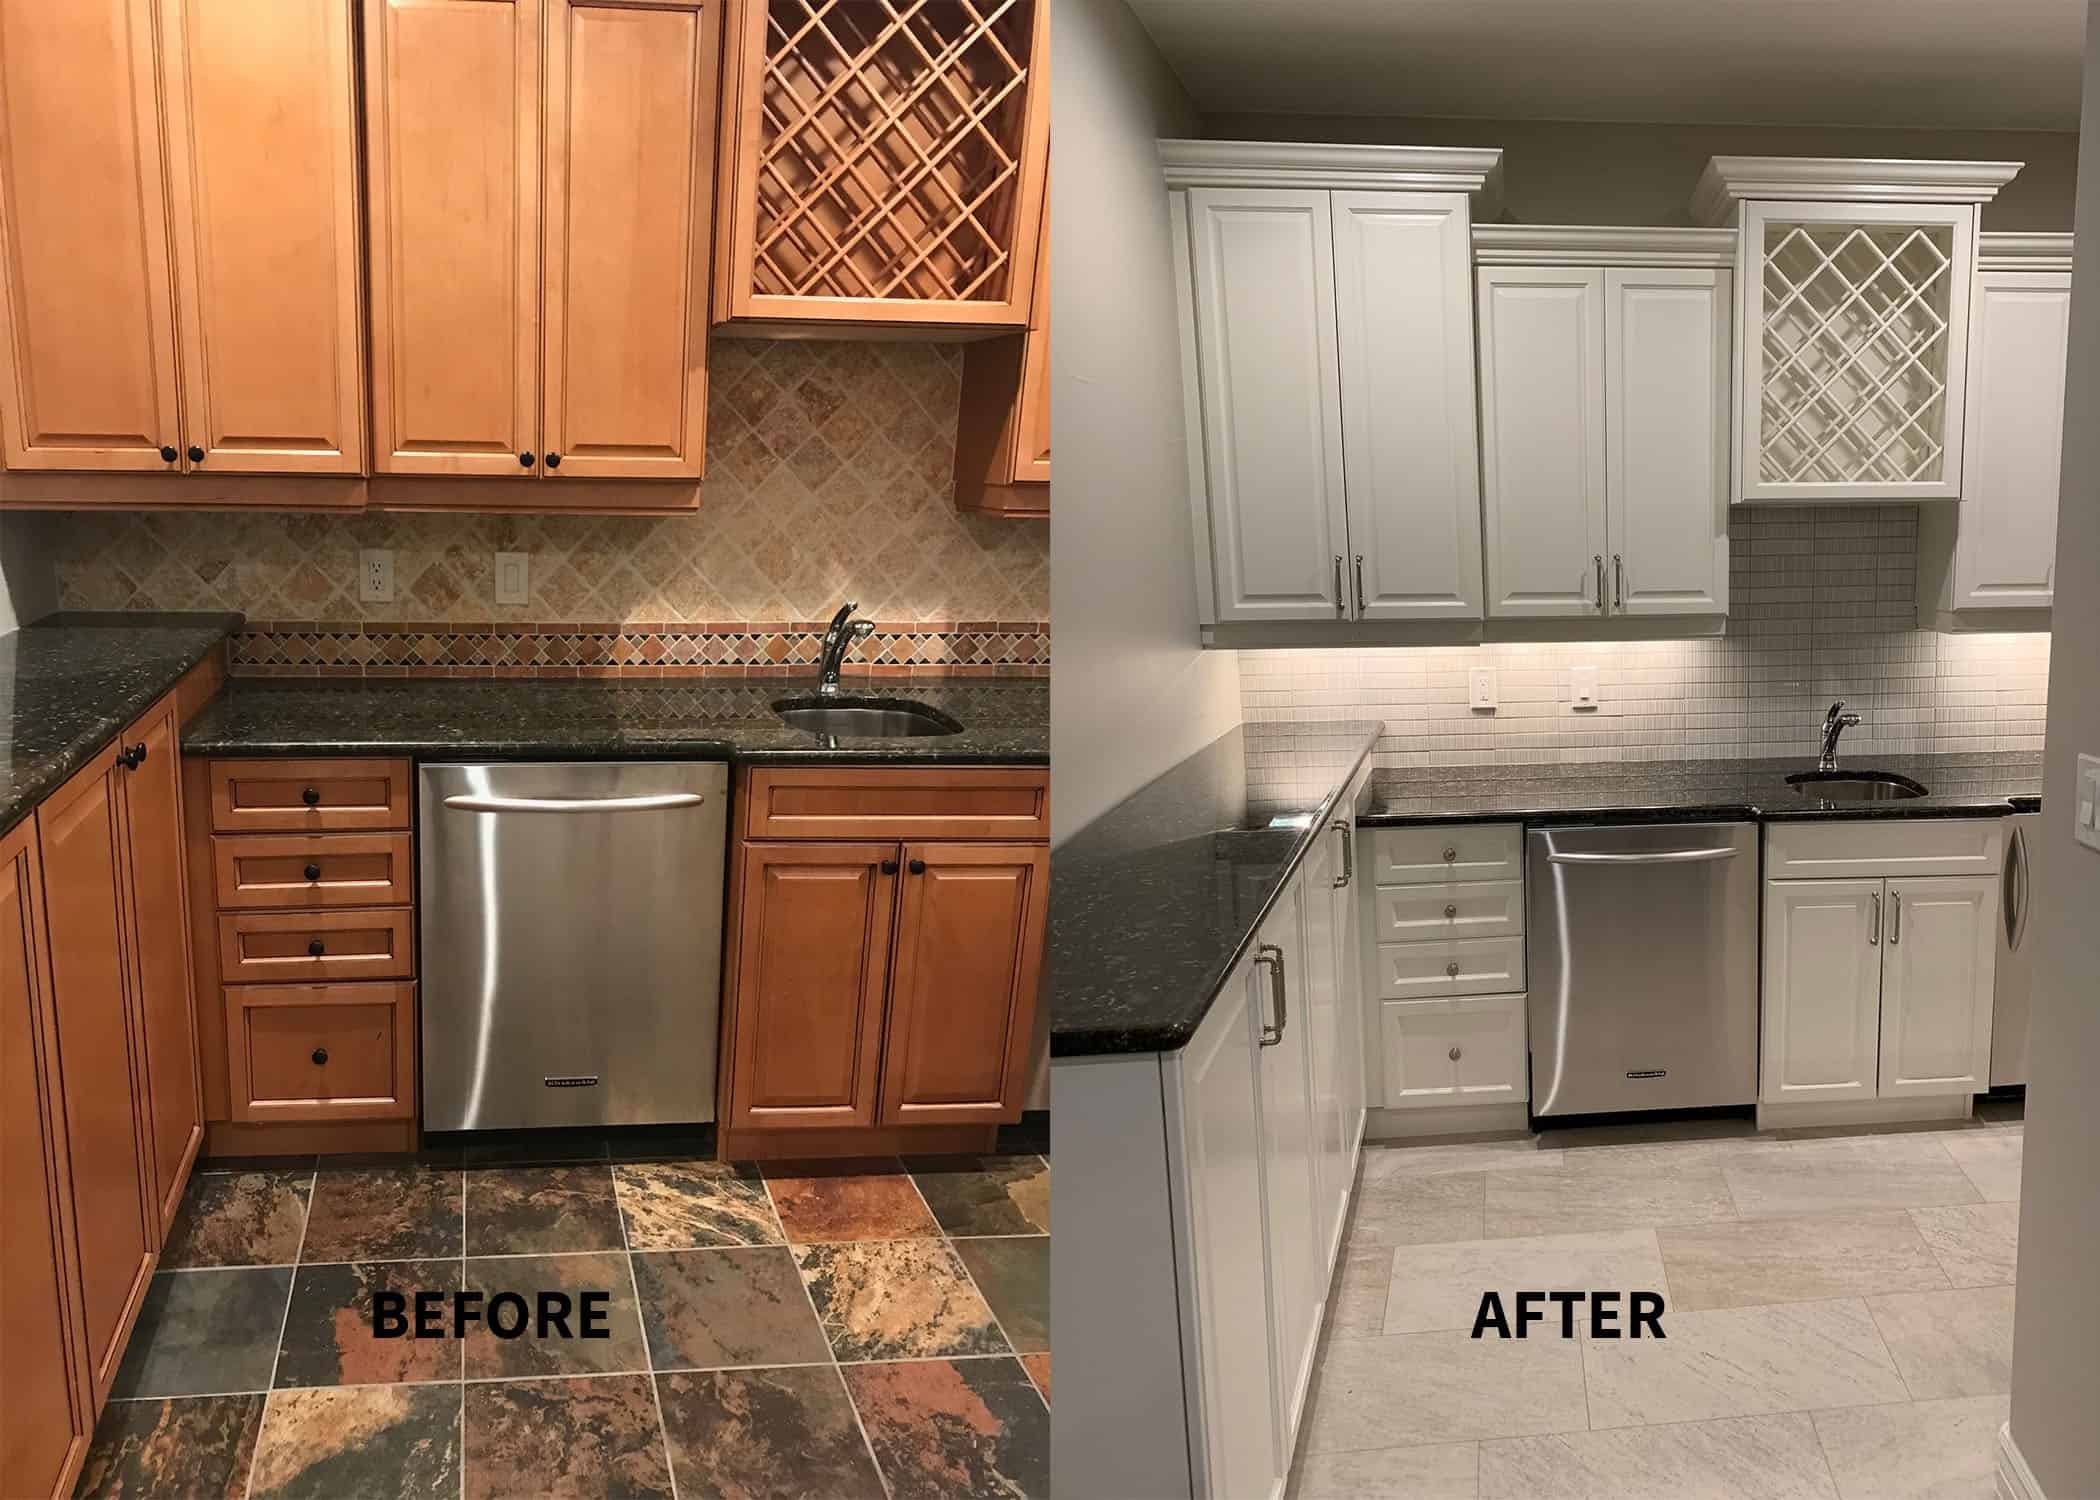
How to remove wood veneer from cabinets – Removing wood veneer from cabinets can be a tedious process, but it’s often necessary when you want to refinish or repaint them. If you’re considering a complete overhaul, you might want to explore the pros and cons of painted vs wood cabinets before embarking on a veneer removal project.
This will help you decide whether to strip the veneer entirely or simply paint over it, as each approach has its own advantages and disadvantages. Ultimately, the decision depends on your desired aesthetic and the condition of the existing veneer.
Removing wood veneer from cabinets often involves using a heat gun or steamer to soften the adhesive, followed by careful scraping. This process can be useful for restoring cabinets to their original state or preparing them for a new finish.
Similar techniques can be applied to a wooden gun display cabinet if you wish to refinish it or remove any imperfections in the veneer. However, before attempting to remove veneer from any cabinet, it’s essential to understand the type of veneer and adhesive used, as some methods may be more suitable than others.
